Customise the header image in the default WordPress theme
The WordPress blogging script is supplied with two themes, Classic and Default. The Default theme is based on Kubrick by Michael Heilemann and comes with an image header graphic with a blue gradient in a white frame. This post explains how to put an image into the blue gradient area so that the white frame is kept visible, so that the rest of the theme looks consistent.
I use Ubuntu on my home computer, so I’ve used the Gnu Image Manipulation Program (GIMP) to edit the header. GIMP is available for Mac OS X and Windows as well and is free to download. There is even a version that you can run from a pen drive without installing the application on your hard drive.
A close look at the Kubrick theme in action on my own web site shows the white frame with curved corners.
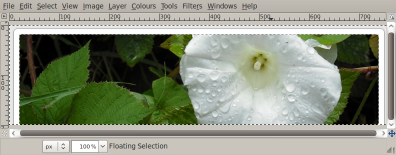
There is actually a further grey frame around the white frame. The grey frame is matched to the background colour of the Web page, so you can’t see the join. Loading the header into the GIMP shows the white frame on the grey background.

We need to select the central blue image and then paste another image into the selection. The problem is that the central blue area has a gradient from dark to lighter blue, and this gradient makes it hard to select the central area directly. I’ve worked out how to select the white frame and the grey background and then invert the selection, so that the central area is selected.
To load the header into GIMP, you need to find the header file, called kubrickheader.jpg. The file is in the images folder, inside the Default theme folder, itself inside the wp-themes folder. The wp-themes folder is inside the wp-content folder in the top level of the WordPress application. I would suggest that you make a copy of the kubrickheader.jpg file to save having to download the WordPress zip file again.
- Load the kubrickheader.jpg into GIMP.
- Click on the Fuzzy Select Tool

- Click on the grey outer background of the image
- You should see the ‘ants’ moving around the image showing the region that has been selected.
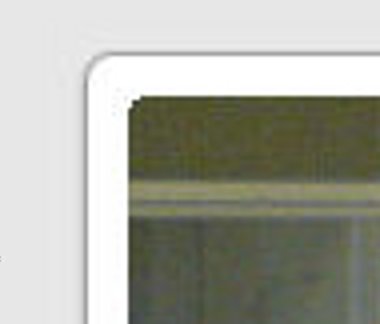
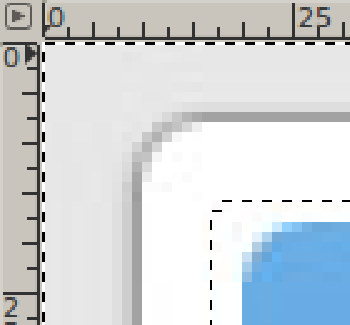
- If you zoom up to (say) 400% you will notice that the selection area does not quite reach to the end of the grey area, it ends as the gradient begins to move towards a darker grey thin line that sets off the white frame
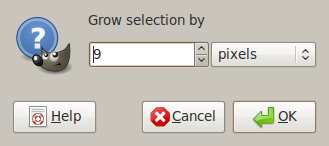
- Use the Select | Grow command to move the selection boundary inwards towards the white frame. We want the seection to cross into the white frame by enough pixels so that the corners are within the selection region, but not so far that the selection boundary impinges on the blue gradient. I used 9 pixels for the amount of ‘growth’.
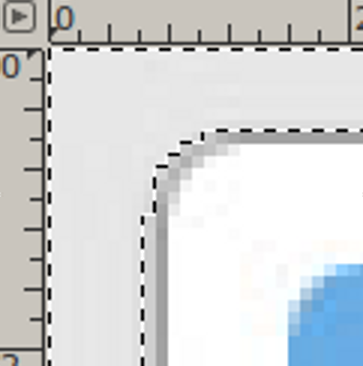
- You can see how the selection boundary now reaches into the white frame
- Now click the Fuzzy Select Tool and press and hold the shift key to extend the selection
- Click on the white frame outside the selected region, and when you release the mouse, the selection boundary should reach the end of the white frame. As you can see, the selection boundary stops as soon as the boundary reaches the anti-aliased pixels that start the blue gradient area

- Next, you need to ‘invert’ the selection. Just go to the Select menu and choose the Invert command. You will notice that the ‘ants’ are marching around the outside of the blue gradient area.
Now all you have to do is to
- open your background image in GIMP and select or scale the image to 760 by 200 pixels.
- select all on your image and
- switch to the kubrickheader image window
- Chose Edit | Paste Into to copy the image into the central area
- Save the image as an XCF file (GIMP format). Then you can change the image again, as the copied image has its own layer.
- Then save a copy as a jpg file. This jpg will become your new header
Then upload the modified kubrickheader.jpg file to the appropriate folder on your WordPress installation using your favourite ftp program or the file manager on your Web site control panel.